We don’t review keyboards, we contemplate them
Welcome. You've found a different kind of keyboard channel.
Here, we explore the custom keyboard hobby not as a tech category, but as a moody, cinematic, late-night creative ritual. Our films are a meditation on the pursuit of mechanical perfection , delivered with a signature deadpan, intelligent wit and unwarranted seriousness. We do this for the community of enthusiasts who appreciate not just the hardware, but the art, sound, and feeling of the hobby.
Pour a fresh brew, settle in, and watch our latest film. This is more than a tech review; it's a mood.
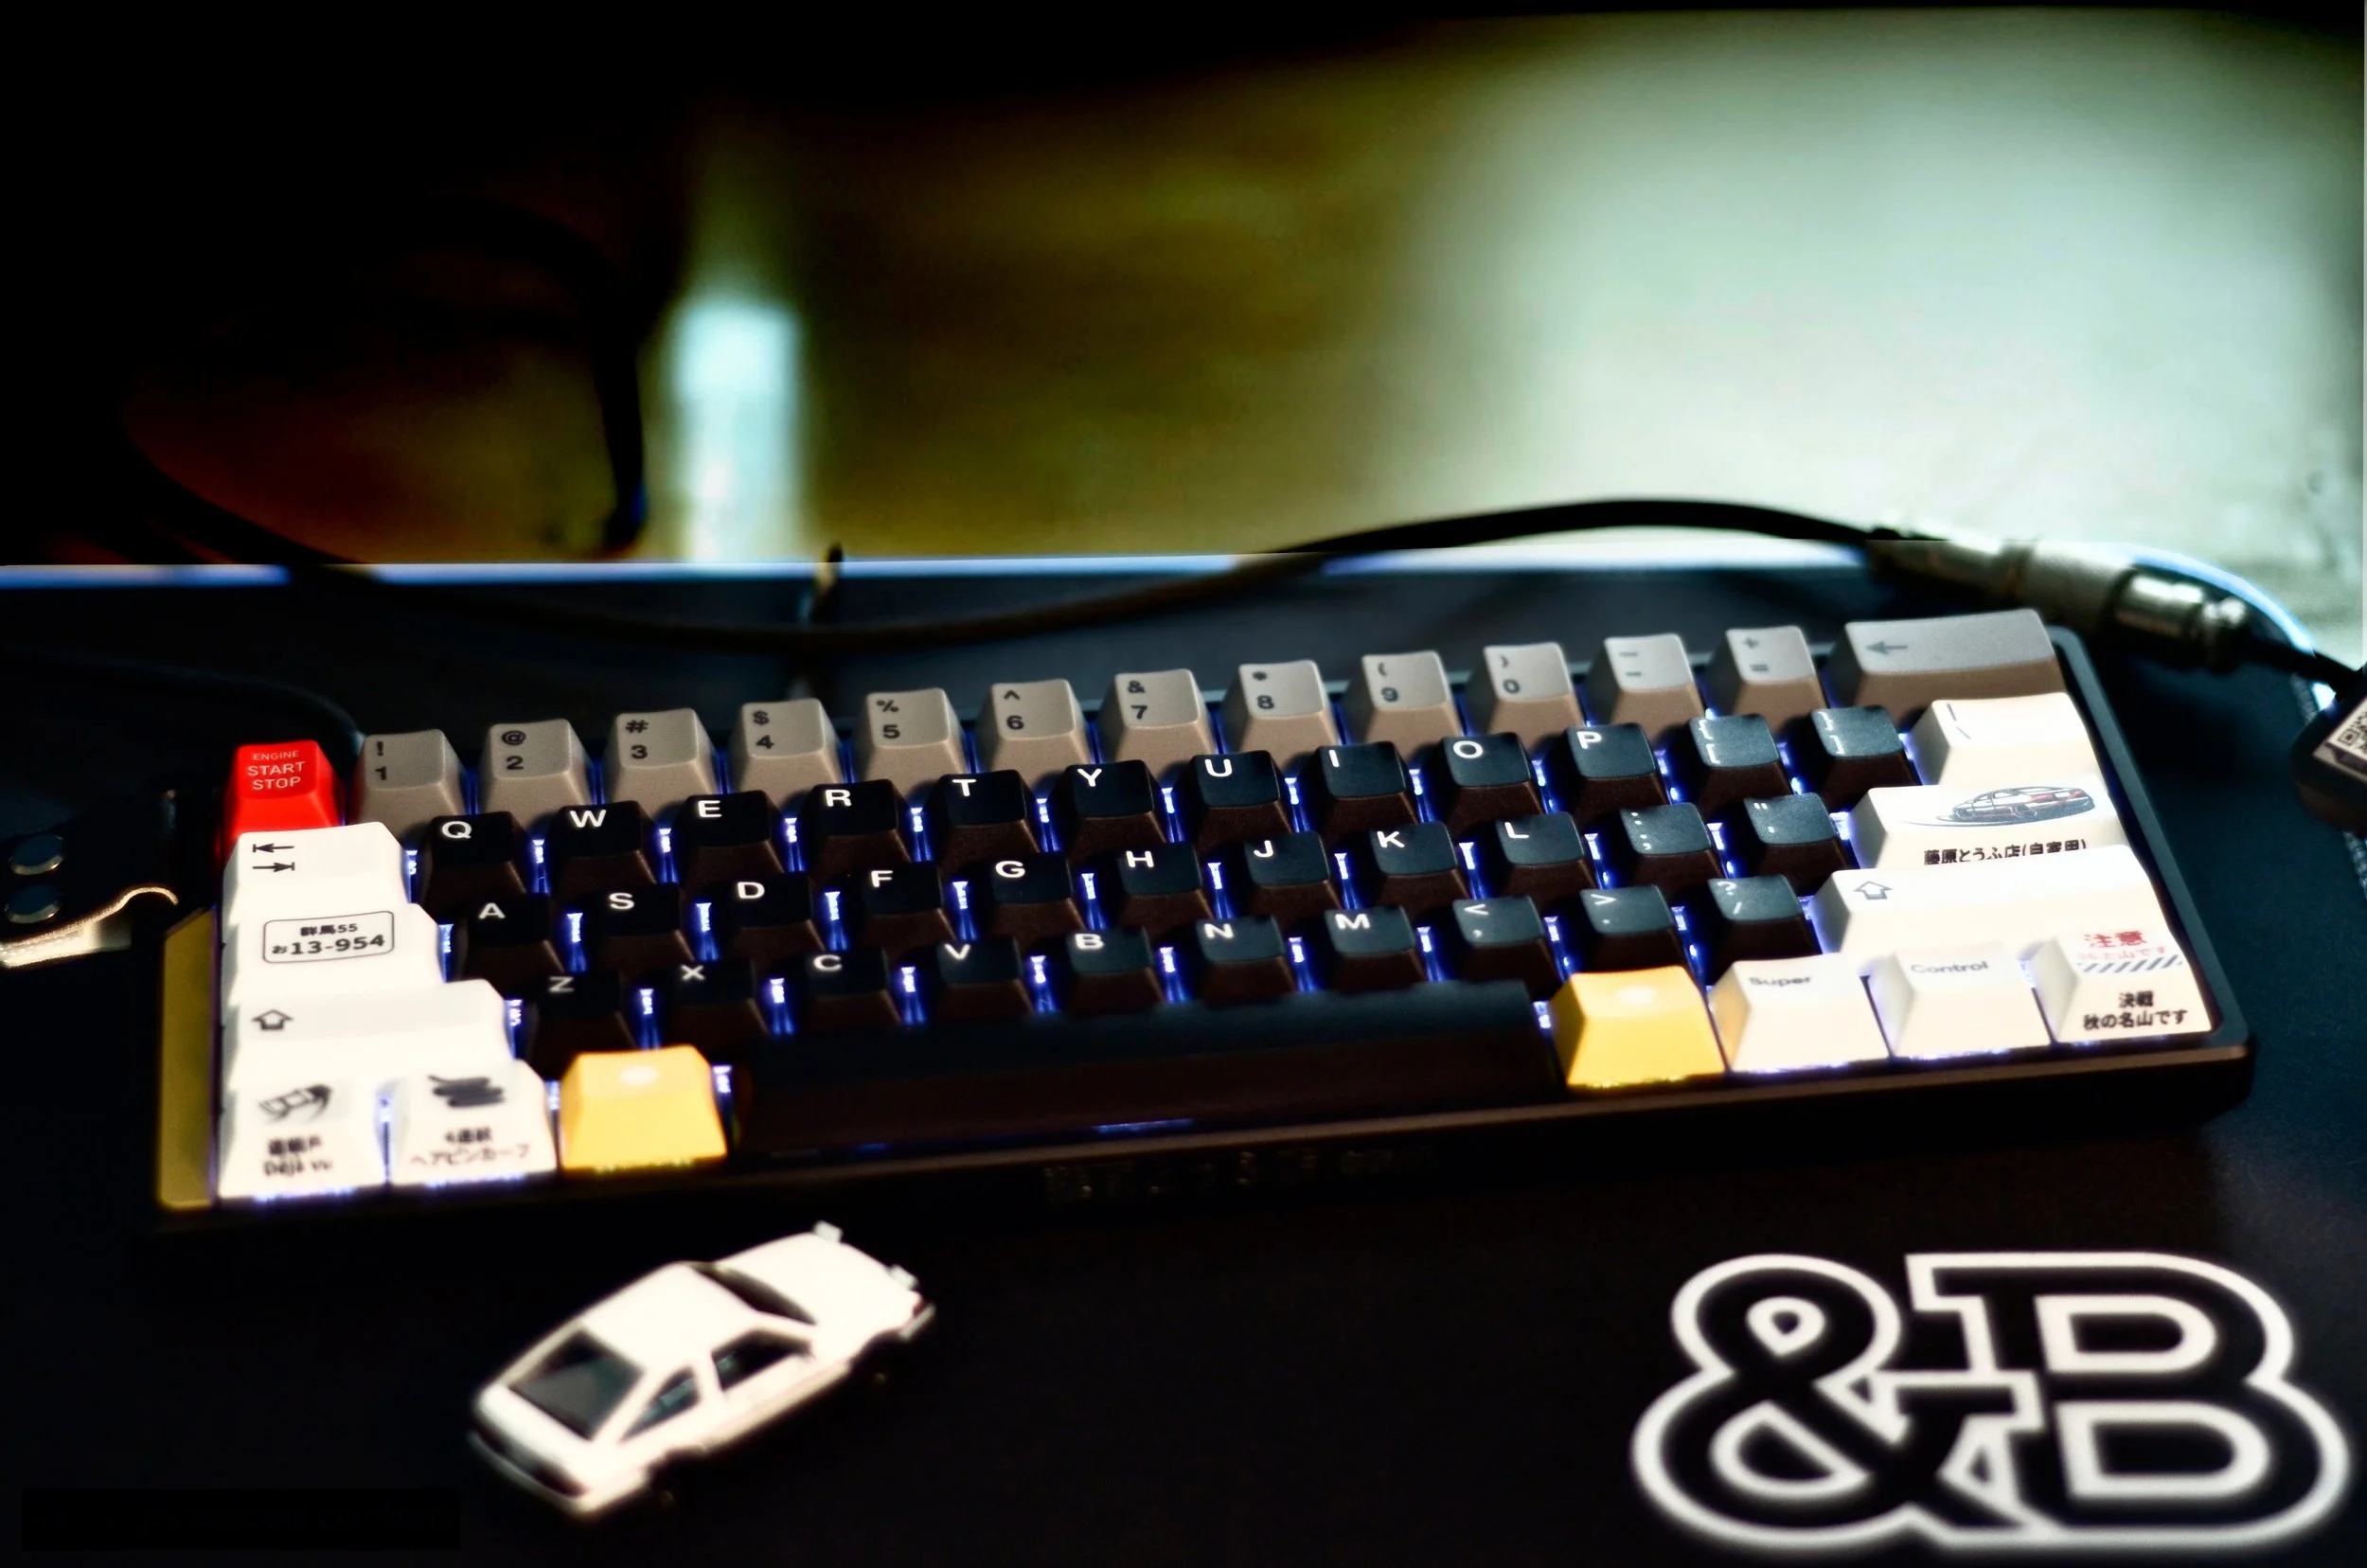
How to Build a Custom Wooting 60HE+: An Initial D Themed Guide
It is said that the perfect machine is one where the user and the tool become one—a perfect extension of will. We apply this philosophy not to a car on a mountain pass, but to a keyboard on a desk. This build log is a meditation on the pursuit of mechanical perfection and the quiet, obsessive satisfaction of the builder.
This post serves as the complete, written record for our "Initial D: First Stage" cinematic film. Here you will find the full parts list, a step-by-step guide to the assembly process, and our final thoughts on the completed machine.
The Film: "Initial D: First Stage"
The Build Sheet: Parts & Tools
The components, tools, and materials used in this meditation. Some of these are affiliate links, which help support the channel at no extra cost to you. Our conclusions are, as always, grimly objective.
Keyboard Core:
Module: Wooting 60HE+
Case: Black Alumaze60 60% Keyboard Case
Dampening: 5-Piece Custom Foam & Silicone Dampening Kit
Switches:
Switch Lube: Krytox 205g0
Aesthetics:
Keycaps: "Initial D" Themed PBT Keycap Set
Decals: "Fujiwara Tofu Shop" and other vinyl decals
The Assembly Guide: A Step-by-Step Contemplation
This is a detailed, written guide of the assembly process.
Step 1: The Preparation (The Stabilizer Ritual)
Before we build the whole, we must perfect the parts. The stabilizers are the foundation of a rattle-free typing experience.
First, check the stabilizer wires for straightness on a flat surface.
Next, meticulously apply a thin layer of Krytox 205g0 to the inside of the stabilizer housings.
Finally, apply a modest amount of dielectric grease to the ends of the wires before reassembly. As we note in the film, the glamour is... overwhelming.
Step 2: The Assembly (The Unification)
With the preparations complete, the machine can take its form.
Begin by carefully pressing the Gateron Jade Max switches into the carbon fiber plate. This process is long and repetitive; it is an excellent opportunity to contemplate your life choices.
Install the five pieces of the sound dampening kit into the Alumaze60 case.
Mount the tuned stabilizers to the PCB.
Lower the populated PCB/plate assembly into the case and fasten the screws. Remember, the stakes are... medium.
Step 3: The Livery (The Final Form)
This is where the object assumes its identity.
Swap the stock Wooting strap for the custom Initial D themed strap.
Meticulously apply the themed vinyl decals to the black case.
Install the "Initial D" keycaps, one by one.
The Sound Test
The machine is assembled. Now, we must hear its voice. Below is the extended, 15-minute ASMR sound test, featuring the ambient sound of quiet city driving at night.
The Final Word: A Monument to an Ideal
And that is the beautiful absurdity of this hobby. We build the perfect tool, not because we are masters, but because the pursuit of perfection itself is the point. The object is a monument to an ideal we will never reach. And sometimes, that is enough.
Follow us on social


Contact Us
Interested in working together? Fill out some info and we will be in touch shortly. We can’t wait to hear from you!